What Is ChatGPT Image 2? Key Features and How to Start
A clear guide to ChatGPT Image 2, its link to GPT Image 2, practical use cases, reference images, and stronger prompts for image workflows today.
When people search for ChatGPT Image 2, they usually are not asking for a technical label. They want to know what it is, what it can do, and how to start using it without wasting time.
The simplest way to think about ChatGPT Image 2 is this: it is the user-facing name many people use for the newer ChatGPT image experience. It points to stronger text-to-image generation, reference-image creation, image editing, visible text control, and multi-turn visual refinement. In product or developer contexts, you will more often see the name GPT Image 2. In search, many users naturally type ChatGPT Image 2.
This guide keeps the focus practical: what the capability is good for, how to write better prompts, when reference images matter, and what mistakes to avoid.
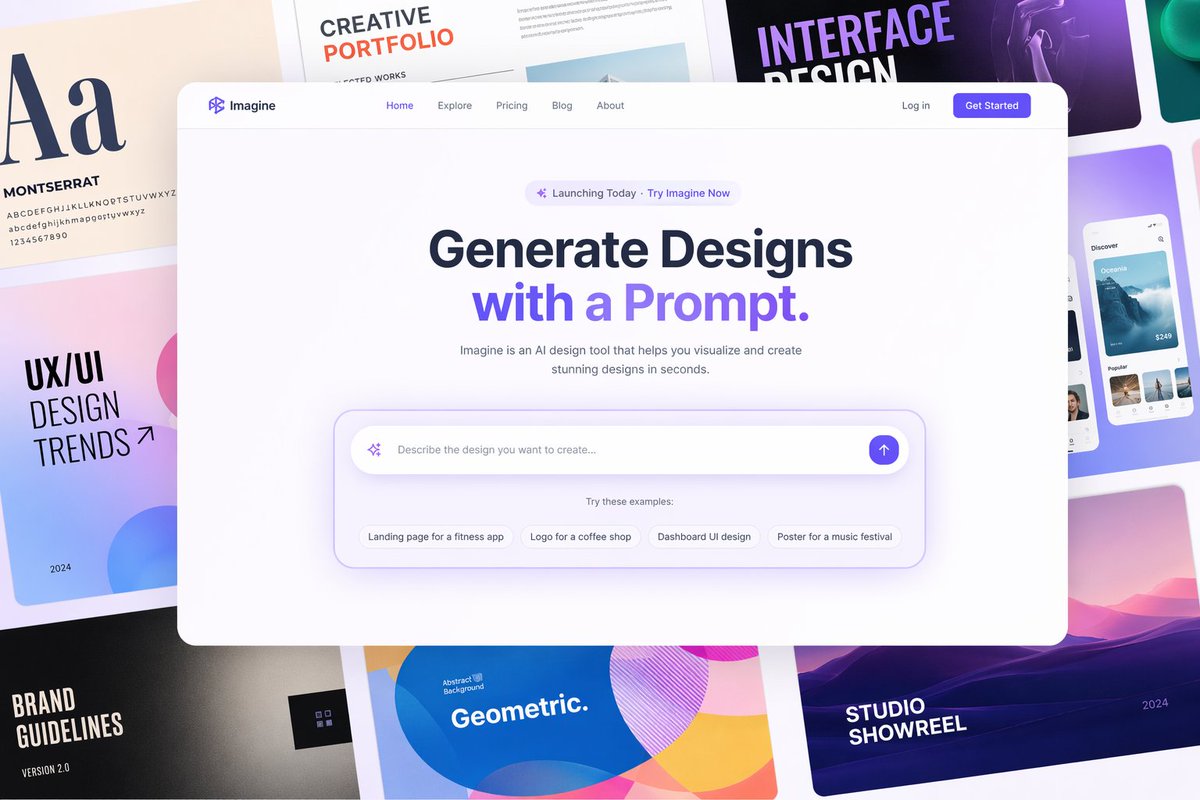
If you are ready to create, start from the GPTIMG2 AI homepage. If you want reusable prompt structures first, open the GPT Image 2 prompt library.
What ChatGPT Image 2 means
"ChatGPT Image 2" is user language more than strict model naming. It usually combines two ideas.
The first is the image experience inside ChatGPT: writing natural language instructions, generating an image, and refining it through follow-up requests.
The second is the underlying GPT Image 2 class of image-model capability: understanding the prompt, using references, preserving structure, generating new visuals, and handling text, layout, and style with more control.
So the real question behind the keyword is not whether the name is perfectly formal. The real question is whether this newer image workflow can produce more controlled, more production-ready visuals.
Key features
The meaningful change is not just prettier images. ChatGPT Image 2 is closer to a visual workbench than a one-shot image renderer.
The main strengths are:
- Better understanding of complex prompts: subject, setting, use case, composition, and constraints can work together.
- More useful visible text: posters, labels, UI copy, and campaign headlines become more practical to test.
- Stronger layout and aspect-ratio control: useful for covers, ads, product shots, social images, vertical posters, and banners.
- Reference-led creation: helpful when you need to preserve a product, character, brand direction, or approved composition.
- Multi-turn refinement: start with one direction, then adjust background, copy, angle, lighting, or crop.
That changes how you should prompt. Instead of writing a pile of style words, write a brief that a designer, photographer, or art director could actually use.
Best use cases
ChatGPT Image 2 is strongest when the image has a clear job.
Good fits include:
- Product visuals: bottles, apparel, electronics, packaging, and hero shots.
- Marketing posters: launch assets, promo campaigns, course covers, and event graphics.
- Social content: Instagram posts, X images, YouTube thumbnails, and blog covers.
- Brand exploration: one product across different scenes, lighting setups, and materials.
- Reference-based variations: keep the subject direction while changing the background, style, or format.
- Concept visuals: app screens, landing-page imagery, game props, characters, and mood boards.
It is still not a replacement for final human review. If the image must carry legal brand assets, very small text, print-ready typography, exact logos, or a real person's likeness, review and post-production still matter.
How to write a stronger prompt
When the image needs to survive team review, write the prompt in this order: deliverable, subject, visible text, layout, aspect ratio, style, lighting, and accuracy constraints.
Example prompt:
Create a vertical product launch poster for a cold brew coffee bottle. The headline says "MIDNIGHT ROAST" in large cream serif type at the top. The bottle sits centered on a dark stone surface with soft rim light. Keep the label text sharp and readable. Use a premium editorial campaign style, 4:5 aspect ratio.
This is more reliable than "make a premium coffee ad" because it gives the model a real asset target.
Use this structure as a checklist:
| Part | What to specify |
|---|---|
| Deliverable | Poster, product image, cover, ad, social post, interface mockup |
| Subject | Product, person, scene, action, material, color |
| Text | Headline, label, button copy, or words that must remain readable |
| Layout | Centered, close-up, top-down, split layout, negative space, 4:5 or 16:9 |
| Style | Photography, illustration, 3D, editorial, minimal, retro |
| Constraints | No warped product, no extra text, preserve brand colors, keep reference structure |
When to use a reference image
Use a reference image when accuracy matters more than broad exploration. It helps with three kinds of control.
First, subject consistency: product shape, face direction, character outfit, logo placement, or packaging structure.
Second, style extension: taking one approved visual and building a family of related covers, ads, or social images.
Third, targeted revision: keeping the main subject while changing the background, lighting, copy, aspect ratio, or crop.
References are useful, but they are not magic. The more complex the reference and the instruction, the more the model has to choose what to preserve. A steadier workflow is to solve one main problem at a time.
Common beginner mistakes
Avoid these patterns:
- Writing only style words without naming the actual deliverable.
- Asking for too much visible text in one image.
- Mixing conflicting styles, such as minimal luxury, cyberpunk, children's illustration, and editorial photography in the same prompt.
- Changing too many variables between revisions.
- Forgetting the aspect ratio needed for the final placement.
- Treating the generated image as final without checking text, hands, logos, rights, and brand fit.
The better workflow is to keep one prompt structure and test only one variable at a time: headline, subject, layout, background, audience, or aspect ratio.
How to start
If you only need the definition, remember this: ChatGPT Image 2 is a newer image workflow for more complex prompts, reference-led editing, and multi-turn visual refinement.
If you are ready to make something, follow this order:
- Define the asset: ad, cover, product image, social image, or reference-based edit.
- Write the deliverable and subject before adding style.
- Specify aspect ratio and visible text.
- Add a reference only when consistency matters.
- Change one major variable per revision.
For a faster start, use the homepage as the product entry point. If you want prompt ideas first, use the prompt library and adapt the closest structure to your own scene.
FAQ
Is ChatGPT Image 2 the same as GPT Image 2?
Not exactly. ChatGPT Image 2 is a common user search phrase for newer ChatGPT image capabilities, while GPT Image 2 is closer to model naming. In practice, both point toward stronger image generation, editing, and multi-turn refinement.
What is the biggest benefit of ChatGPT Image 2?
Control. It is better suited for complex prompts, visible text, layout direction, reference-based creation, and step-by-step revision toward a specific visual target.
Is it useful for product images?
Yes. Product visuals are one of the best use cases, especially for ad concepts, packaging shots, social assets, and campaign directions. For commercial use, still review text, logos, product structure, and rights.
How long should the prompt be?
It does not need to be long. It needs to be structured. A clear 60 to 120 word brief with deliverable, subject, text, layout, style, and constraints is usually stronger than a list of style adjectives.
When should I use reference images?
Use references when the product, subject, face, character, brand color, or composition needs to stay consistent. If you are only exploring a loose style, a text prompt is often enough.
What is the best next step on GPTIMG2 AI?
Decide what asset you are making, then choose a prompt structure close to that use case. Start from the homepage for the full product flow, or use the prompt library when you need examples first.