如何在 GPTIMG2 AI 上用 GPT Image 2 编辑图片
在 GPTIMG2 AI 上用 GPT Image 2 改图:上传参考图、写清保留项和修改项、选择比例与质量,并通过多轮修订得到可用图片。
当你已经有一张值得保留的图片时,GPT Image 2 的编辑能力最有价值。产品图、人像、海报草稿、界面模型图或广告主视觉,很多时候并不需要从零生成,只需要换背景、清理文字、调整比例,或者把画面做得更像最终可用的素材。
这就是“生成”和“编辑”的区别。OpenAI 现在已经在官方文档中列出 GPT Image 2,并说明它支持生成和编辑,输入可以包含文字和图片,输出为图片。对改图任务来说,核心流程很直接:上传一张或多张参考图,用自然语言说明要改什么,让 GPT Image 2 完成重绘,而不是手动画蒙版、分图层。
在 GPTIMG2 AI 上,实际流程更直接:打开已经选中 GPT Image 2 的应用,上传你要保留的参考图,用生产任务的方式写清修改要求,选好比例和质量,再从最接近目标的结果继续修。
快速答案
要用 GPT Image 2 改图,直接打开 GPTIMG2 AI 应用。
最短流程是:
- 打开应用,并确认模型是
GPT Image 2。 - 上传一张或多张参考图。
- 在提示词里分清“必须保留什么”和“需要改什么”。
- 生成前先选好画面比例。
- 根据草稿或成品阶段选择质量。
- 生成后从最接近目标的结果继续修,一次只修一个主要问题。
如果你还没有稳定的提示词,可以先看 GPT Image 2 提示词页面,找一个接近的结构,再进入应用。
什么时候应该编辑,而不是从零生成
从零生成适合方向还没定的时候。编辑更适合画面里已经有必须保留的东西。
这些任务更适合用 GPT Image 2 编辑:
- 保留产品形状,只更换背景
- 保留人物、姿势、服装或身份特征
- 把一张广告图改成多个季节、地区或活动版本
- 把物体放进新的环境
- 调整海报风格,但不丢掉主布局
- 清理 UI 风格图片,同时保留屏幕结构
- 用多张参考图组合出产品场景
不要因为手里有图就一定用编辑。如果原图质量差、构图不对,或者和最终目标关系很弱,从文本提示词重新生成可能更快。
核心判断很简单:身份和结构重要时,用参考图;探索方向时,用纯文本提示词。
从 GPTIMG2 AI 应用开始
直接入口是 GPT Image 2 工作区。这个路径会以图片工作区打开,并预选 GPT Image 2。
当前 GPTIMG2 AI 工作区里的 GPT Image 2 支持:
- 上传参考图
- 最多 16 张图片参考
auto、方图、竖图、横图、高图、宽图和超宽比例low、medium、high质量选项1k、2k、4k输出质量选项
这很重要,因为编辑通常不是一次提示词就结束。你应该先用较快设置验证方向,等构图和保留项正确之后,再提高质量做成品。
把编辑提示词写成“保留 + 修改 + 禁止”
很多无效编辑提示词只说想加什么。
不够好:
Make this product photo look more premium.更好:
Edit the uploaded product photo into a premium skincare campaign visual.
Keep the bottle shape, label placement, cap color, and logo readable.
Replace the background with a dark stone bathroom counter, soft side lighting, light water droplets, and a realistic luxury editorial style.
Do not change the product proportions, do not add extra bottles, and do not invent new label text.
第二个提示词更有效,因为它有三层:
- 保留:哪些东西必须保持可识别
- 修改:哪些地方要重绘
- 禁止:哪些变化会让结果不可用
做图片编辑时,“保留项”不是可选项。如果你不告诉模型哪些内容不能动,它可能会把图片变好看,但同时破坏真实任务。
多参考图要分工明确
GPT Image 2 能处理图片输入,GPTIMG2 AI 也为 GPT Image 2 提供了多张参考图槽位。但这不代表每次都应该上传很多图。
好的多参考图设置应该让每张图都有明确作用:
- 参考图 1:要保留的产品或主体
- 参考图 2:要借鉴的环境或氛围
- 参考图 3:构图、姿势或布局目标
- 参考图 4:品牌质感、包装或配色方向
示例:
Use reference image 1 as the exact product.
Use reference image 2 only for the warm kitchen environment and morning light.
Create a realistic lifestyle product photo with the product from reference 1 placed on the countertop.
Keep the logo and bottle silhouette from reference 1 unchanged.
Do not copy unrelated objects from reference 2.
这比“combine these images”更稳定,因为模型知道哪张图负责主体,哪张图负责氛围。
先选比例,再判断结果
很多改图失败其实是比例问题。方形产品图、竖版广告、横向首屏横幅,本来就是三种不同构图。
在 GPTIMG2 AI 上可以这样选:
1:1:产品缩略图、电商卡片、普通社媒图4:5、3:4、2:3、9:16:移动端广告、Story、竖版海报3:2、4:3、16:9:文章配图、落地页区块、横向广告素材21:9、2:1、3:1:需要留文案区域的宽屏首屏图auto:早期探索,让 GPT Image 2 先判断画幅
如果主体总是落在错误位置,不要马上重写整段提示词。先修比例,再改编辑指令。
按阶段选择质量
GPT Image 2 很强,但最终质量的编辑通常比草稿更慢、成本更高。OpenAI 的 图片生成指南 也提醒,复杂图片提示词可能有明显延迟,带图片输入的编辑还需要计算输入图片处理成本。
在 GPTIMG2 AI 上,建议这样用:
low用于早期构图测试medium用于日常迭代high用于构图已经正确、准备输出成品时1k用于速度优先2k或4k用于需要更多细节的最终图
不要一开始就把所有设置拉满。先解决结构,再为精修付出成本。
推荐工作流
- 先选最清晰的源图。
- 打开 GPT Image 2 应用工作区。
- 上传源图和必要的辅助参考图。
- 按“保留、修改、约束、用途”的顺序写提示词。
- 生成前确定最终投放比例。
- 先用草稿或中等质量生成。
- 用真实使用目标检查结果,而不是只看提示词是否被执行。
- 一次只修一个主要问题。
- 构图、主体、文字都可用后,再提高质量。
- 确认图片适合最终场景后再下载。
这个流程比一句“make it better”慢一点,但会少浪费很多生成次数。
可以借鉴的提示词库示例
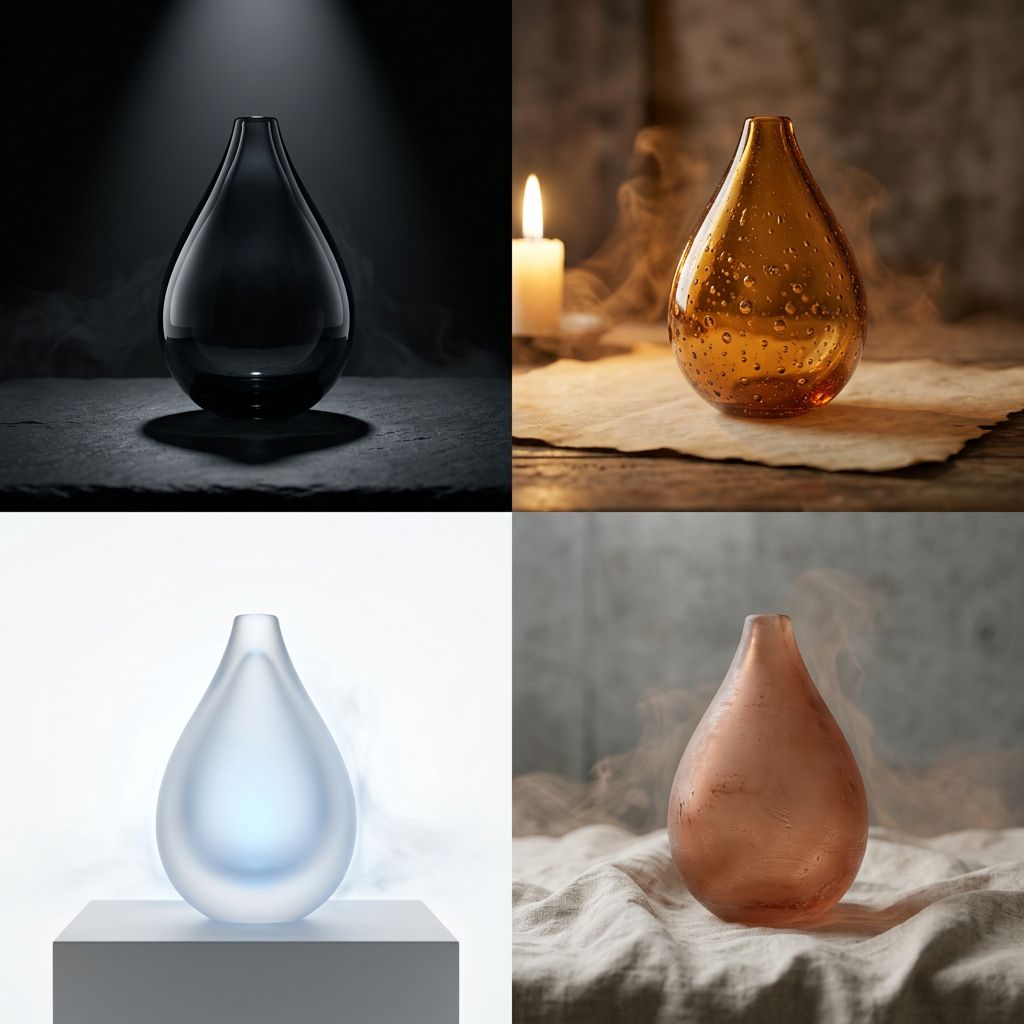
GPT Image 2 提示词页面 里已经有一些很适合编辑工作流的例子。它们不是前后对比测试,但能展示一种有价值的写法:让 GPT Image 2 在改变风格、画幅或场景时,仍然保留结构和主体。
产品类提示词适合用来保留形状、材质、标签清晰度和光线,同时测试新的背景或视觉风格。
UI 类提示词适合用来清理版式、保留层级,并让界面文字保持可读,而不是生成一张随机的抽象屏幕。
海报类示例适合作为广告变体的参考,因为它同时包含构图、字体、留白和明确的最终使用场景。
常用编辑提示词示例
产品背景替换
Edit the uploaded product image into a clean e-commerce hero image.
Preserve the product shape, logo, label text, material, and color.
Replace the background with a soft neutral studio setup, realistic contact shadow, and subtle reflection.
Keep the product centered with enough whitespace around it for a website card.
Do not add extra props, extra text, hands, people, or a second product.
广告图变体
Create a winter campaign variation from the uploaded summer campaign visual.
Keep the same main subject, brand colors, logo placement, and overall composition.
Change the background to a snowy city evening with warm shop lights and subtle falling snow.
Make the mood seasonal but still premium and realistic.
Do not change the product, do not distort the logo, and do not add unreadable decorative text.
UI 风格图片清理
Edit the uploaded UI mockup into a cleaner SaaS dashboard hero image.
Preserve the main dashboard layout and the large chart structure.
Improve spacing, contrast, and typography clarity.
Use a realistic browser-window presentation with soft studio lighting.
Keep all visible interface text simple and readable.
Do not invent dense tables, random icons, or extra navigation bars.
下载前检查
把结果当成真实素材检查:
- 原主体是否仍然可识别?
- logo、标签、脸、服装或布局是否被保留?
- 文字在最终尺寸下是否足够清楚?
- 比例是否适合投放位置?
- 阴影、反射、透视是否可信?
- 模型是否添加了无关物体?
- 当前输出尺寸下是否足够干净?
OpenAI 文档仍然列出了文字渲染、一致性和精确构图方面的限制。GPT Image 2 比旧模型更强,但品牌素材和商业图片仍然需要最终检查。
从这里开始
如果你已经有要改的图片,打开 GPT Image 2 应用工作区,上传图片,并围绕“必须保留什么”来写编辑提示词。
如果你只有大概想法,先打开 GPT Image 2 提示词页面,找一个接近的结构,再进入应用使用 GPT Image 2。
好的 GPT Image 2 编辑工作流不是“make this better”,而是:保留重要部分,修改具体部分,选对画幅,生成接近目标的结果,然后继续精修。
FAQ
可以在 GPTIMG2 AI 上用 GPT Image 2 编辑图片吗?
可以。打开 GPTIMG2 AI 应用,选择 GPT Image 2,上传参考图,然后描述你想做的编辑。
应该上传几张参考图?
只需要保留主体时,一张参考图通常够用。每张图都有明确作用时,再使用多参考图。
每次都应该用高质量吗?
不需要。先用较低或中等质量探索,等构图和保留项正确后再提高质量。
GPT Image 2 编辑最常见的错误是什么?
只描述想改什么,却没有说明哪些内容必须保持不变。